PySide6 QGridLayout 网格布局:跨行跨列、控件对齐策略
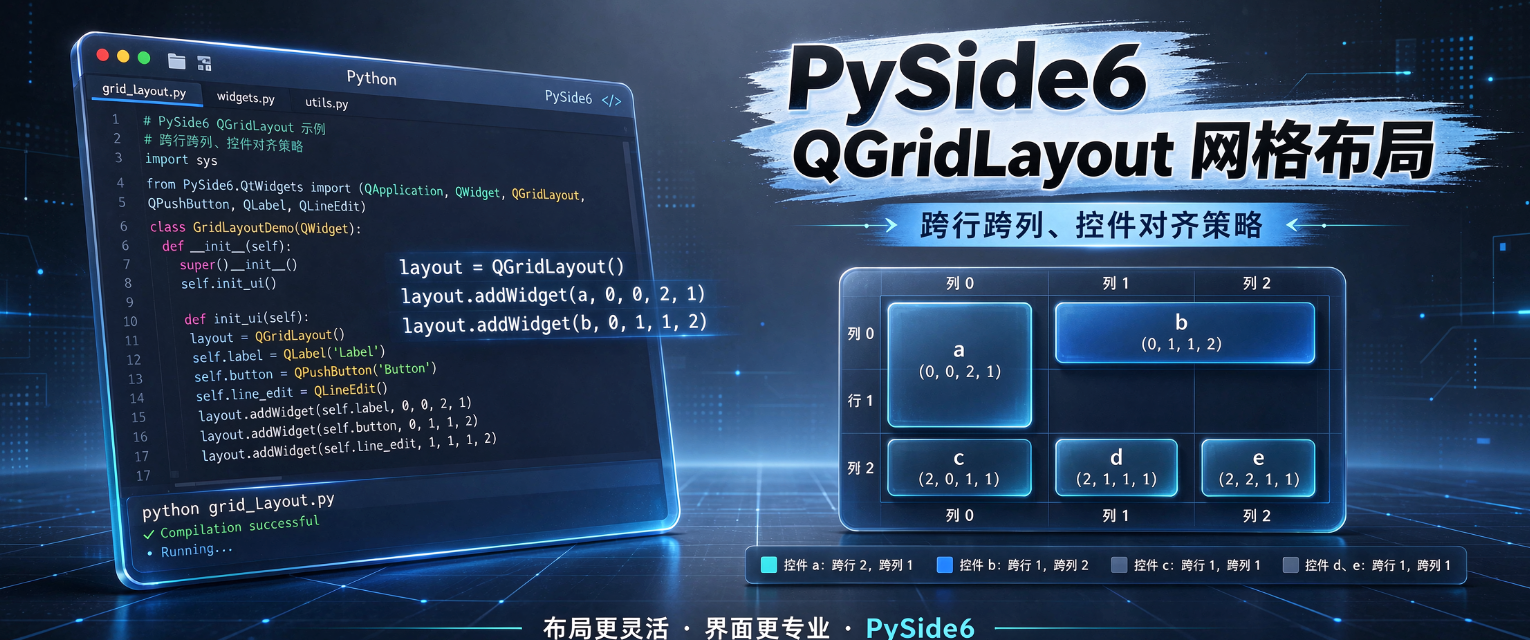
QGridLayout 是网格布局,以行、列二维表格形式摆放控件,区别于单行 / 单列的 Box 布局,适合表单、仪表盘、计算器、多模块面板这类规整的二维界面。

核心方法

QGridLayout 核心方法是 addWidget,用于将控件添加到指定的行、列位置,其函数签名如下:

1
2
3
4
5
6
@typing.overload
def addWidget(self, w: PySide6.QtWidgets.QWidget, /) -> None: ...
@typing.overload
def addWidget(self, arg__1: PySide6.QtWidgets.QWidget, row: int, column: int, /, alignment: PySide6.QtCore.Qt.AlignmentFlag = ...) -> None: ...
@typing.overload
def addWidget(self, arg__1: PySide6.QtWidgets.QWidget, row: int, column: int, rowSpan: int, columnSpan: int, /, alignment: PySide6.QtCore.Qt.AlignmentFlag = ...) -> None: ...
  • w / arg__1:要放入的控件
  • row:起始行号(从 0 开始)
  • col:起始列号(从 0 开始)
  • rowspan:占用多少行,默认 1
  • colspan:占用多少列,默认 1
  • alignment:控件在网格单元格内的对齐方式
 1
 2
 3
 4
 5
 6
 7
 8
 9
10
11
12
13
14
15
16
17
18
19
20
21
22
23
24
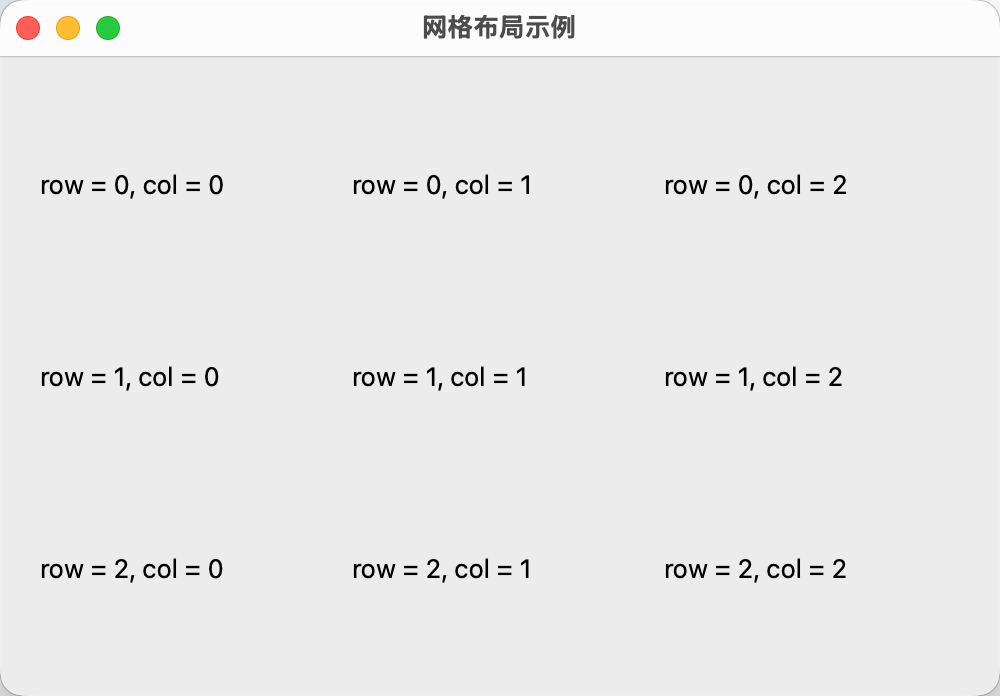
import sys

from PySide6.QtWidgets import QApplication, QWidget, QGridLayout, QLabel


class MyWindow(QWidget):
    def __init__(self):
        super().__init__()
        self.setWindowTitle("网格布局示例")
        self.resize(500, 320)

        grid_layout = QGridLayout()
        for i in range(3):
            for j in range(3):
                lbl = QLabel(f"row = {i}, col = {j}")
                grid_layout.addWidget(lbl, i, j)

        self.setLayout(grid_layout)


app = QApplication(sys.argv)
window = MyWindow()
window.show()
sys.exit(app.exec())

演示效果如下:

常用方法

尺寸与间距

  • setSpacing:设置所有控件之间横向 + 纵向统一间距
  • setHorizontalSpacing:单独设置列间距(水平间距)
  • setVerticalSpacing:单独设置行间距(垂直间距)
  • spacing:获取统一间距值
  • horizontalSpacing:获取水平间距
  • verticalSpacing:获取垂直间距
 1
 2
 3
 4
 5
 6
 7
 8
 9
10
11
12
13
14
15
16
17
18
19
20
21
22
23
24
25
26
27
28
29
30
31
import sys

from PySide6.QtWidgets import QApplication, QWidget, QGridLayout, QPushButton


class DemoSpacingAll(QWidget):
    def __init__(self):
        super().__init__()
        self.setWindowTitle("间距类全部方法")
        self.resize(350, 220)
        grid = QGridLayout()

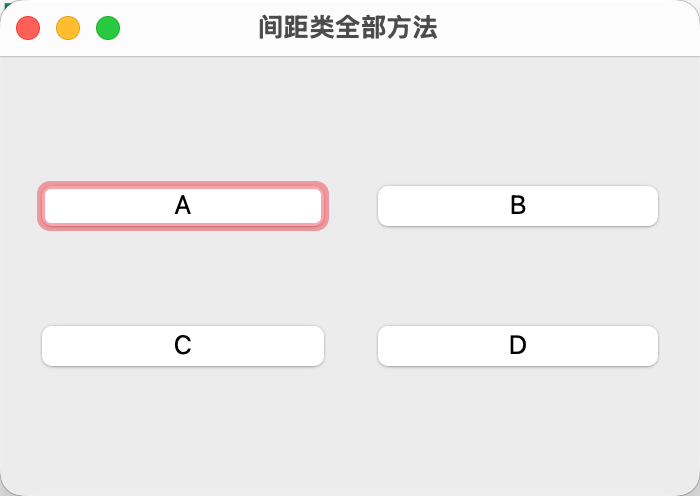
        grid.setSpacing(15)
        print("统一间距 spacing():", grid.spacing())

        grid.setHorizontalSpacing(25)
        grid.setVerticalSpacing(6)
        print("水平间距 horizontalSpacing():", grid.horizontalSpacing())
        print("垂直间距 verticalSpacing():", grid.verticalSpacing())

        grid.addWidget(QPushButton("A"), 0, 0)
        grid.addWidget(QPushButton("B"), 0, 1)
        grid.addWidget(QPushButton("C"), 1, 0)
        grid.addWidget(QPushButton("D"), 1, 1)
        self.setLayout(grid)


app = QApplication(sys.argv)
window = DemoSpacingAll()
window.show()
sys.exit(app.exec())

演示效果如下:

行列拉伸权重(非常关键)

  • setRowStretch:设置指定行的拉伸系数,数值越大窗口放大时该行分得更多空间
  • setColumnStretch:设置指定列的拉伸系数,数值越大窗口放大时该列分得更多空间
  • rowStretch:获取行拉伸系数
  • columnStretch:获取列拉伸系数
 1
 2
 3
 4
 5
 6
 7
 8
 9
10
11
12
13
14
15
16
17
18
19
20
21
22
23
24
25
26
27
28
29
30
31
32
33
import sys

from PySide6.QtWidgets import QApplication, QWidget, QGridLayout, QLabel


class DemoStretchAll(QWidget):
    def __init__(self):
        super().__init__()
        self.setWindowTitle("行列拉伸全部方法")
        self.resize(350, 220)
        grid = QGridLayout()

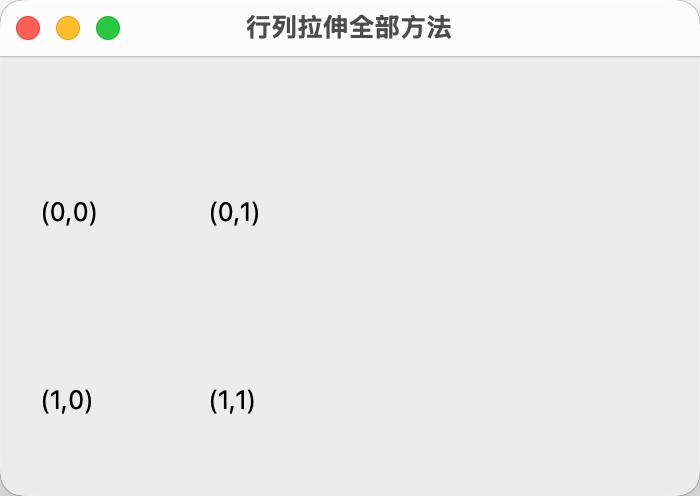
        grid.setColumnStretch(0, 1)
        grid.setColumnStretch(1, 3)
        grid.setRowStretch(0, 2)
        grid.setRowStretch(1, 1)

        print("第0列 stretch:", grid.columnStretch(0))
        print("第1列 stretch:", grid.columnStretch(1))
        print("第0行 stretch:", grid.rowStretch(0))
        print("第1行 stretch:", grid.rowStretch(1))

        grid.addWidget(QLabel("(0,0)"), 0, 0)
        grid.addWidget(QLabel("(0,1)"), 0, 1)
        grid.addWidget(QLabel("(1,0)"), 1, 0)
        grid.addWidget(QLabel("(1,1)"), 1, 1)
        self.setLayout(grid)


app = QApplication(sys.argv)
window = DemoStretchAll()
window.show()
sys.exit(app.exec())

演示效果如下:

边界边距

  • setContentsMargins:设置布局整体内边距,布局和父控件边框之间的留白
  • contentsMargins:获取当前边距
 1
 2
 3
 4
 5
 6
 7
 8
 9
10
11
12
13
14
15
16
17
18
19
20
21
22
23
24
import sys

from PySide6.QtWidgets import QApplication, QWidget, QGridLayout, QPushButton


class DemoMarginAll(QWidget):
    def __init__(self):
        super().__init__()
        self.setWindowTitle("边距全部方法")
        self.resize(350, 220)
        grid = QGridLayout()

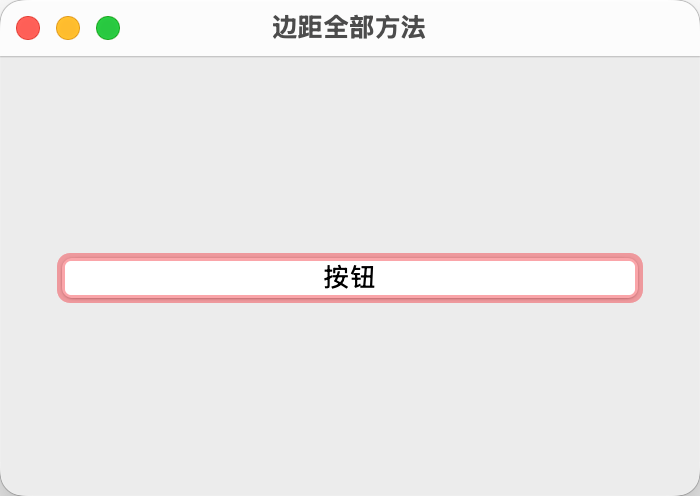
        grid.setContentsMargins(30, 15, 30, 15)
        margins = grid.contentsMargins()
        print("边距 left,top,right,bottom:", margins.left(), margins.top(), margins.right(), margins.bottom())

        grid.addWidget(QPushButton("按钮"), 0, 0)
        self.setLayout(grid)


app = QApplication(sys.argv)
window = DemoMarginAll()
window.show()
sys.exit(app.exec())

演示效果如下:

查询类

  • rowCount:返回布局实际占用行数
  • columnCount:返回布局实际占用列数
  • getItemPosition:根据索引获取控件所在的 row, col, rowspan, colspan
  • itemAtPosition:获取指定行列位置上的布局项(QLayoutItem)
  • itemAt:按索引获取布局项
  • count:布局内总项数量
  • takeAt:移除指定索引的布局项并返回
 1
 2
 3
 4
 5
 6
 7
 8
 9
10
11
12
13
14
15
16
17
18
19
20
21
22
23
24
25
26
27
28
29
30
31
32
33
34
35
36
37
import sys

from PySide6.QtWidgets import QApplication, QWidget, QGridLayout, QPushButton


class DemoQueryAll(QWidget):
    def __init__(self):
        super().__init__()
        self.setWindowTitle("查询类全部方法")
        self.resize(400, 250)
        grid = QGridLayout()

        btn = QPushButton("跨行跨列按钮")
        grid.addWidget(btn, 1, 1, 2, 2)

        print("总项 count():", grid.count())
        print("rowCount():", grid.rowCount())
        print("columnCount():", grid.columnCount())

        idx = grid.indexOf(btn)
        print("控件 indexOf:", idx)
        r, c, rs, cs = grid.getItemPosition(idx)
        print(f"getItemPosition -> 行{r},列{c},rowspan{rs},colspan{cs}")

        item_pos = grid.itemAtPosition(1, 1)
        print("itemAtPosition(1,1) 的控件:", item_pos.widget())

        item_idx = grid.itemAt(idx)
        print("itemAt(idx) 的控件:", item_idx.widget())

        self.setLayout(grid)


app = QApplication(sys.argv)
window = DemoQueryAll()
window.show()
sys.exit(app.exec())

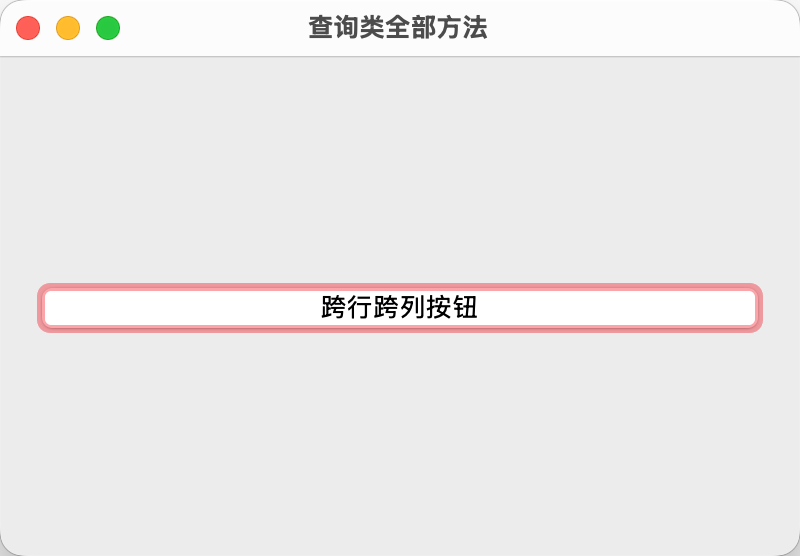
演示效果如下:

小结

QGridLayout 是一个二维网格布局,用于将控件组织在网格中。

按索引位置设置控件位置,并提供一系列的方法进行间隔、边距、查询等操作。