经同事介绍,了解到 Multica 平台,故希望在本地部署并对接已知大模型,看看具体的效果,并希望在未来的工作中能派上用场。
本地化部署的教程详见
https://github.com/multica-ai/multica/blob/main/SELF_HOSTING.md
,在部署中的过程,我也会详细介绍其中的一些具体工作。
代码拉取
1
2
3
| $ mkdir opensource && cd opensource
$ git clone https://github.com/multica-ai/multica.git && cd multica
$ git checkout tags/v0.3.38
|
- 创建 opensource 目录
- 在 opensource 目录下拉取 multica 源码
- 使用当前最新的版本 v0.3.38
Makefile
在项目目录,有一个 Makefile 文件,是用于构建、部署应用的入口文件。
Makefile 部分内容
 1
 2
 3
 4
 5
 6
 7
 8
 9
10
11
12
13
14
15
16
17
18
19
20
21
22
23
24
25
26
27
28
29
30
31
32
33
34
35
36
37
38
39
40
41
42
43
44
45
46
47
48
49
50
51
52
53
54
55
| selfhost: ## Create .env if needed, then pull and start the official self-hosted images
$(REQUIRE_COMPOSE)
@if [ ! -f .env ]; then \
echo "==> Creating .env from .env.example..."; \
cp .env.example .env; \
JWT=$$(openssl rand -hex 32); \
PGPASS=$$(openssl rand -hex 24); \
if [ "$$(uname)" = "Darwin" ]; then \
sed -i '' "s/^JWT_SECRET=.*/JWT_SECRET=$$JWT/" .env; \
sed -i '' "s/^POSTGRES_PASSWORD=.*/POSTGRES_PASSWORD=$$PGPASS/" .env; \
sed -i '' -E "s#^(DATABASE_URL=postgres://[^:]+:)[^@]*(@.*)#\1$$PGPASS\2#" .env; \
else \
sed -i "s/^JWT_SECRET=.*/JWT_SECRET=$$JWT/" .env; \
sed -i "s/^POSTGRES_PASSWORD=.*/POSTGRES_PASSWORD=$$PGPASS/" .env; \
sed -i -E "s#^(DATABASE_URL=postgres://[^:]+:)[^@]*(@.*)#\1$$PGPASS\2#" .env; \
fi; \
echo "==> Generated random JWT_SECRET and POSTGRES_PASSWORD"; \
fi
@echo "==> Pulling official Multica images..."
@if ! $(COMPOSE) -f docker-compose.selfhost.yml pull; then \
echo ""; \
echo "Official images for tag '$${MULTICA_IMAGE_TAG:-latest}' are not published yet."; \
echo "If this is before the first GHCR release, build from the current checkout:"; \
echo " make selfhost-build"; \
exit 1; \
fi
@echo "==> Starting Multica via Docker Compose..."
$(COMPOSE) -f docker-compose.selfhost.yml up -d
@echo "==> Waiting for backend to be ready..."
@for i in $$(seq 1 30); do \
if curl -sf http://localhost:$${PORT:-8080}/health > /dev/null 2>&1; then \
break; \
fi; \
sleep 2; \
done
@if curl -sf http://localhost:$${PORT:-8080}/health > /dev/null 2>&1; then \
echo ""; \
echo "✓ Multica is running!"; \
echo " Frontend: http://localhost:$${FRONTEND_PORT:-3000}"; \
echo " Backend: http://localhost:$${PORT:-8080}"; \
echo ""; \
echo "Images: $${MULTICA_BACKEND_IMAGE:-ghcr.io/multica-ai/multica-backend}:$${MULTICA_IMAGE_TAG:-latest}"; \
echo " $${MULTICA_WEB_IMAGE:-ghcr.io/multica-ai/multica-web}:$${MULTICA_IMAGE_TAG:-latest}"; \
echo ""; \
echo "Log in: configure RESEND_API_KEY in .env for email codes,"; \
echo " or read the generated code from backend logs when Resend is unset."; \
echo ""; \
echo "Next — install the CLI and connect your machine:"; \
echo " brew install multica-ai/tap/multica"; \
echo " multica setup self-host"; \
else \
echo ""; \
echo "Services are still starting. Check logs:"; \
echo " $(COMPOSE) -f docker-compose.selfhost.yml logs"; \
fi
|
- $(REQUIRE_COMPOSE) - 确认本地已安装了 Docker,并启用了 docker compose 插件
关键命令:
1
2
| $ docker compose version --short
5.1.3
|
- @if [ ! -f .env ]; then - 创建 .env 文件并生成相关密文
- JWT_SECRET
- POSTGRES_PASSWORD
- sed 替换 .env 内容
关键命令:
1
2
3
| $ openssl rand -hex 32
$ openssl rand -hex 24
$ sed -i # ...
|
- $(COMPOSE) -f docker-compose.selfhost.yml up -d - 拉镜像、启容器
- 基于 docker-compose.selfhost.yml 启服务
- 健康检测
关键命令:
1
2
| $ docker compose -f docker-compose.selfhost.yml up -d
$ curl xxx/health
|
在 Makefile 中,还有一个命令 selfhost-build,最终效果与 selfhost 相同,区别在于:selfhost 拉取官方镜像,selfhost-build 从本地构建镜像,相应地,部署过程前者要快一些,而后者适用于本地源码调试。
执行 make selfhost
 1
 2
 3
 4
 5
 6
 7
 8
 9
10
11
12
13
14
15
16
17
18
19
20
21
22
23
24
25
26
27
28
29
30
31
32
| $ make selfhost
==> Creating .env from .env.example...
==> Generated random JWT_SECRET and POSTGRES_PASSWORD
==> Pulling official Multica images...
[+] pull 39/39
✔ Image ghcr.io/multica-ai/multica-backend:latest Pulled 33.0s
✔ Image pgvector/pgvector:pg17 Pulled 70.3s
✔ Image ghcr.io/multica-ai/multica-web:latest Pulled 76.6s
==> Starting Multica via Docker Compose...
docker compose -f docker-compose.selfhost.yml up -d
[+] up 6/6
✔ Network multica_default Created 0.1s
✔ Volume multica_pgdata Created 0.0s
✔ Volume multica_backend_uploads Created 0.0s
✔ Container multica-postgres-1 Healthy 6.9s
✔ Container multica-backend-1 Started 6.5s
✔ Container multica-frontend-1 Started 6.3s
==> Waiting for backend to be ready...
✓ Multica is running!
Frontend: http://localhost:3000
Backend: http://localhost:8080
Images: ghcr.io/multica-ai/multica-backend:latest
ghcr.io/multica-ai/multica-web:latest
Log in: configure RESEND_API_KEY in .env for email codes,
or read the generated code from backend logs when Resend is unset.
Next — install the CLI and connect your machine:
brew install multica-ai/tap/multica
multica setup self-host
|
访问地址:
http://localhost:3000
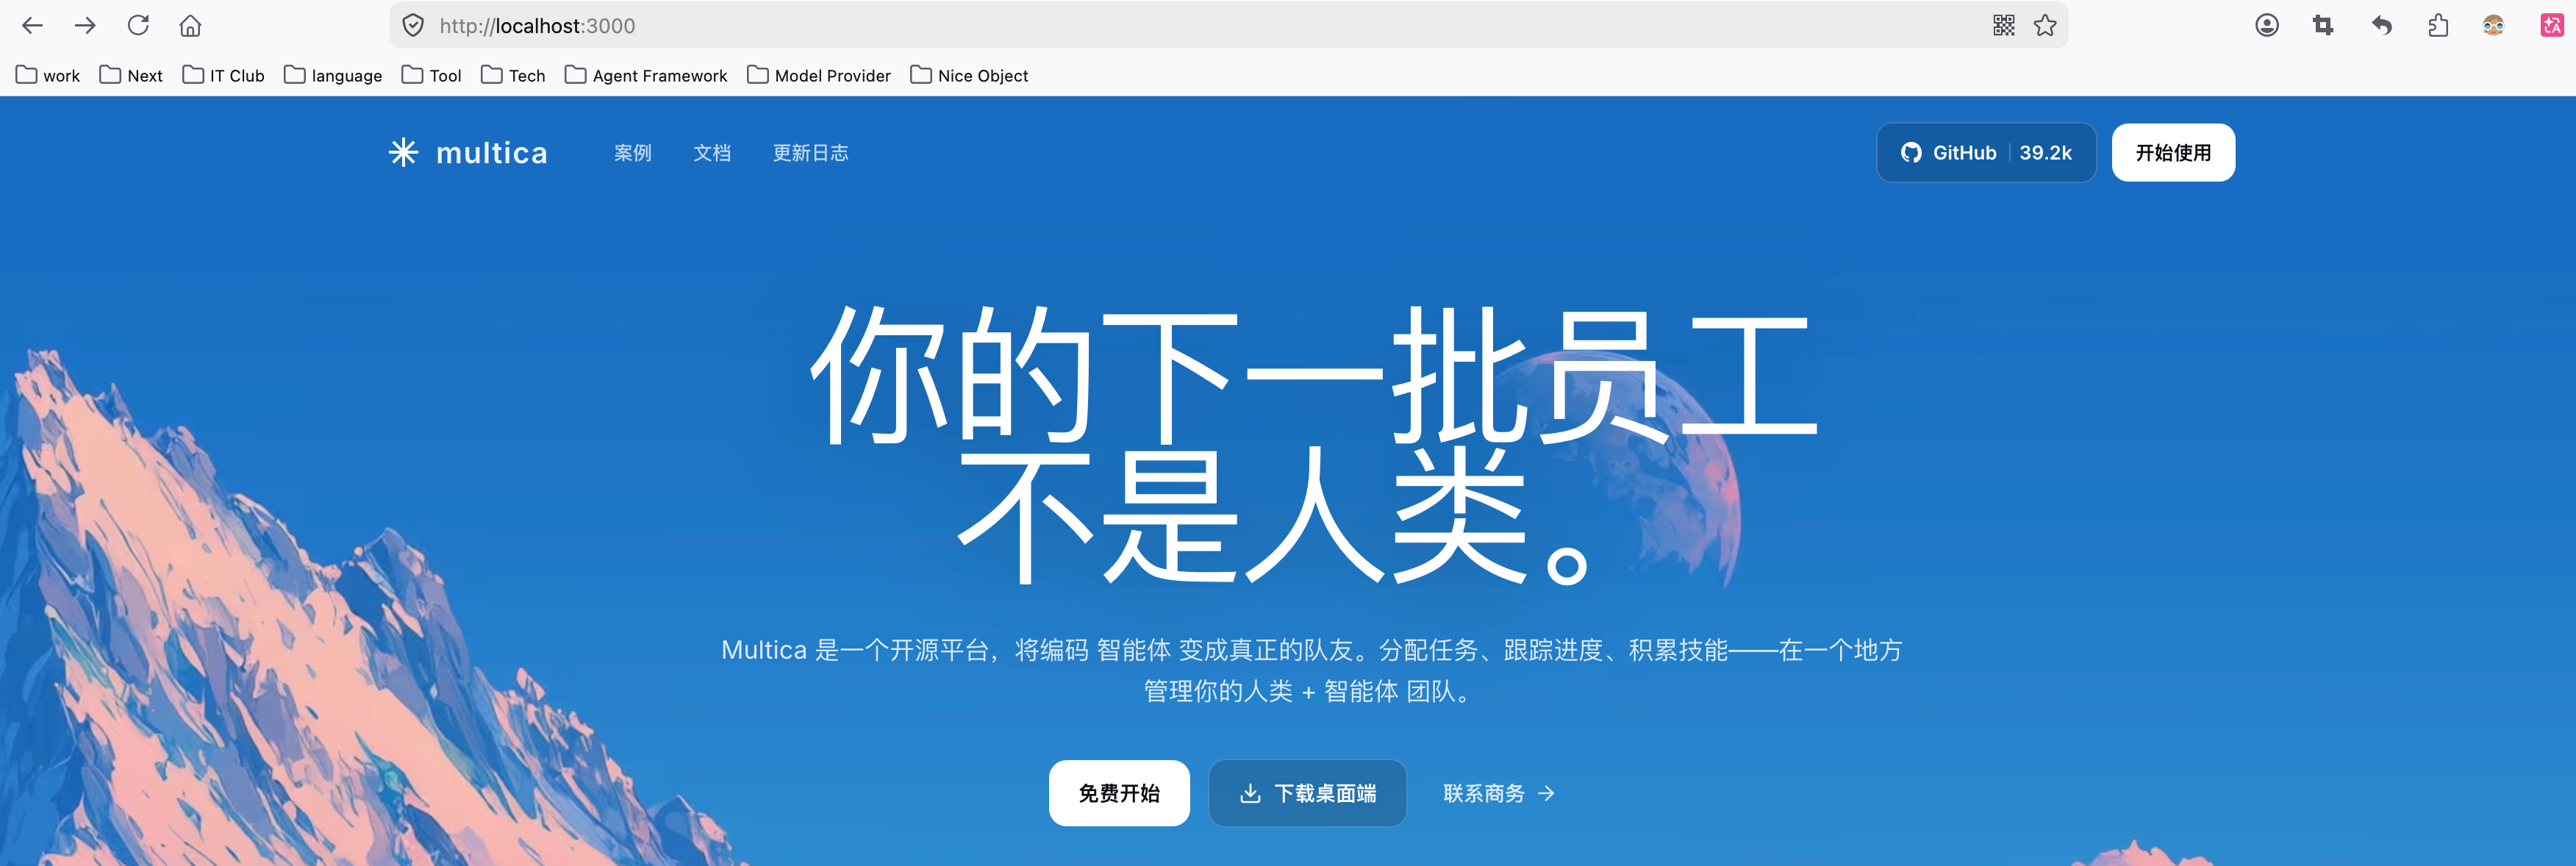
,如下图:

登录
在登录界面
http://localhost:3000/login
,输入邮箱,需要在后端容器中查看验证码,如下:
1
2
3
4
5
6
7
| docker compose -f docker-compose.selfhost.yml logs backend | grep -i "verification\|code"
backend-1 | up 009_verification_code
backend-1 | up 010_verification_code_attempts
backend-1 | 05:58:31.912 WRN no email backend configured (RESEND_API_KEY and SMTP_HOST both empty) — verification codes will be printed to the log instead of emailed.
backend-1 | EmailService: DEV mode — codes printed to stdout (set MULTICA_DEV_VERIFICATION_CODE in .env for a fixed local code)
backend-1 | [DEV] Verification code for YOU@outlook.com: 059962
backend-1 | 06:38:09.072 INF http request method=POST path=/auth/send-code status=200 duration=18.043ms request_id=552349ea client_platform=web client_version=v0.3.38
|
在没有配置 resend 服务和 SMTP_HOST 的情况下,验证在后端容器的终端给出,如本次的 059962。
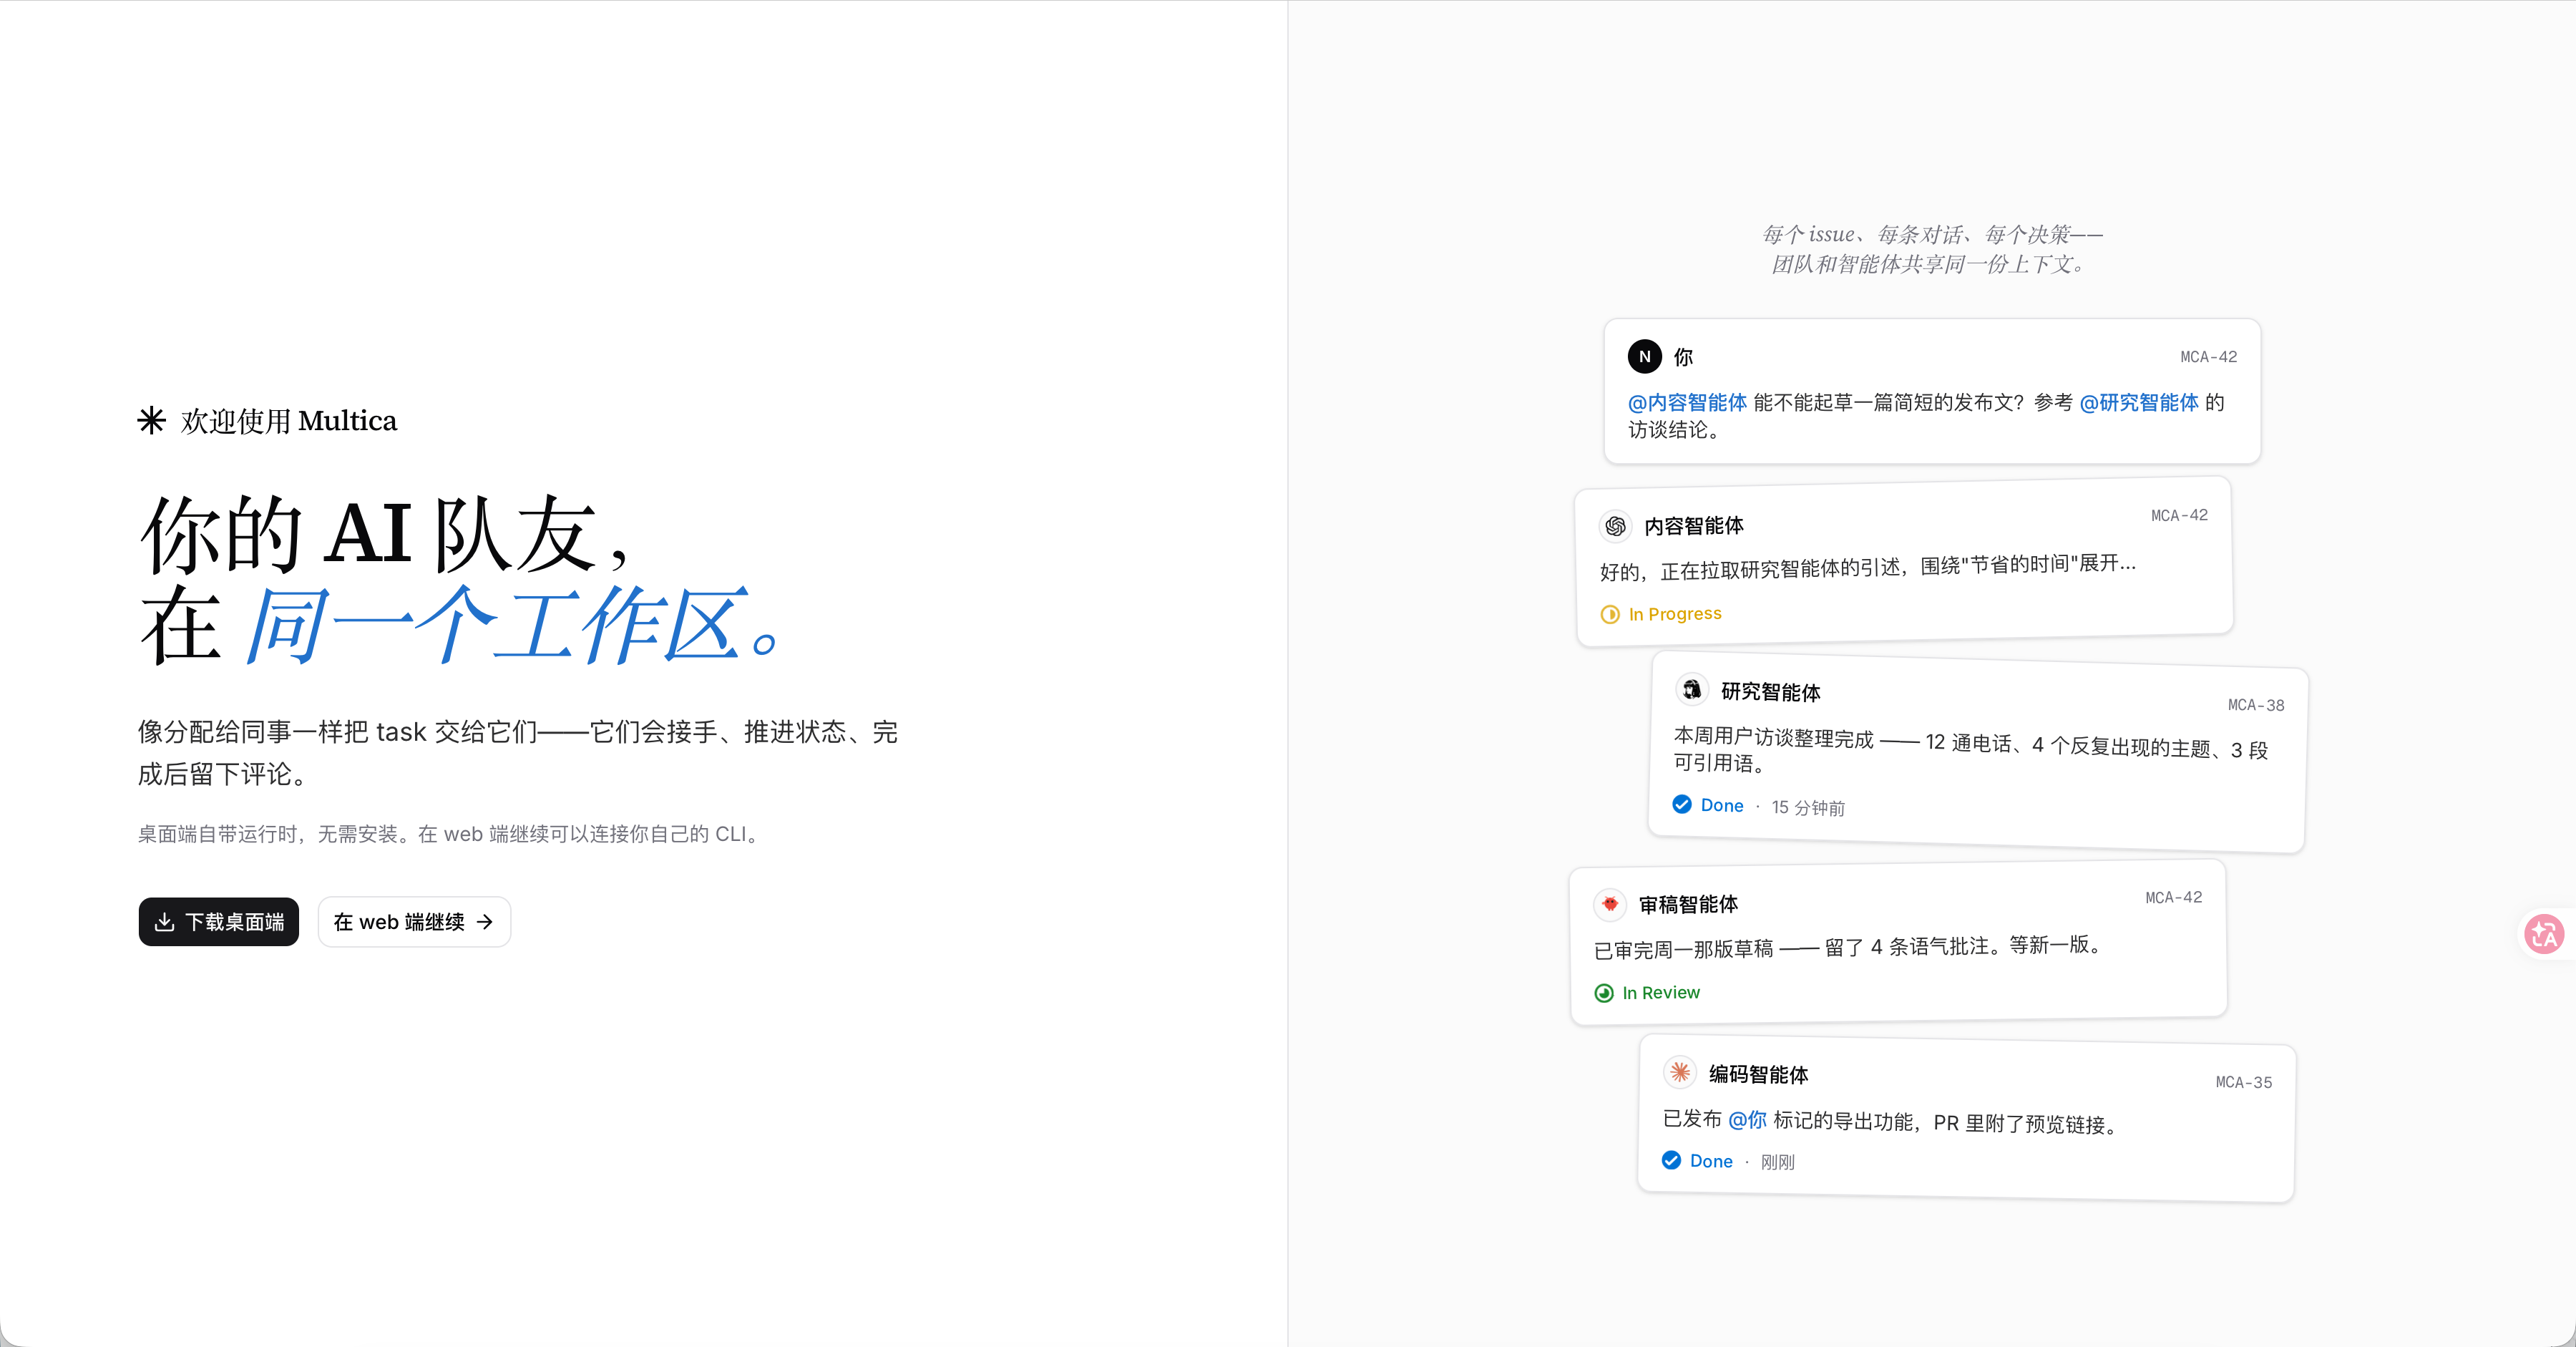
登录之后进行的界面如下:
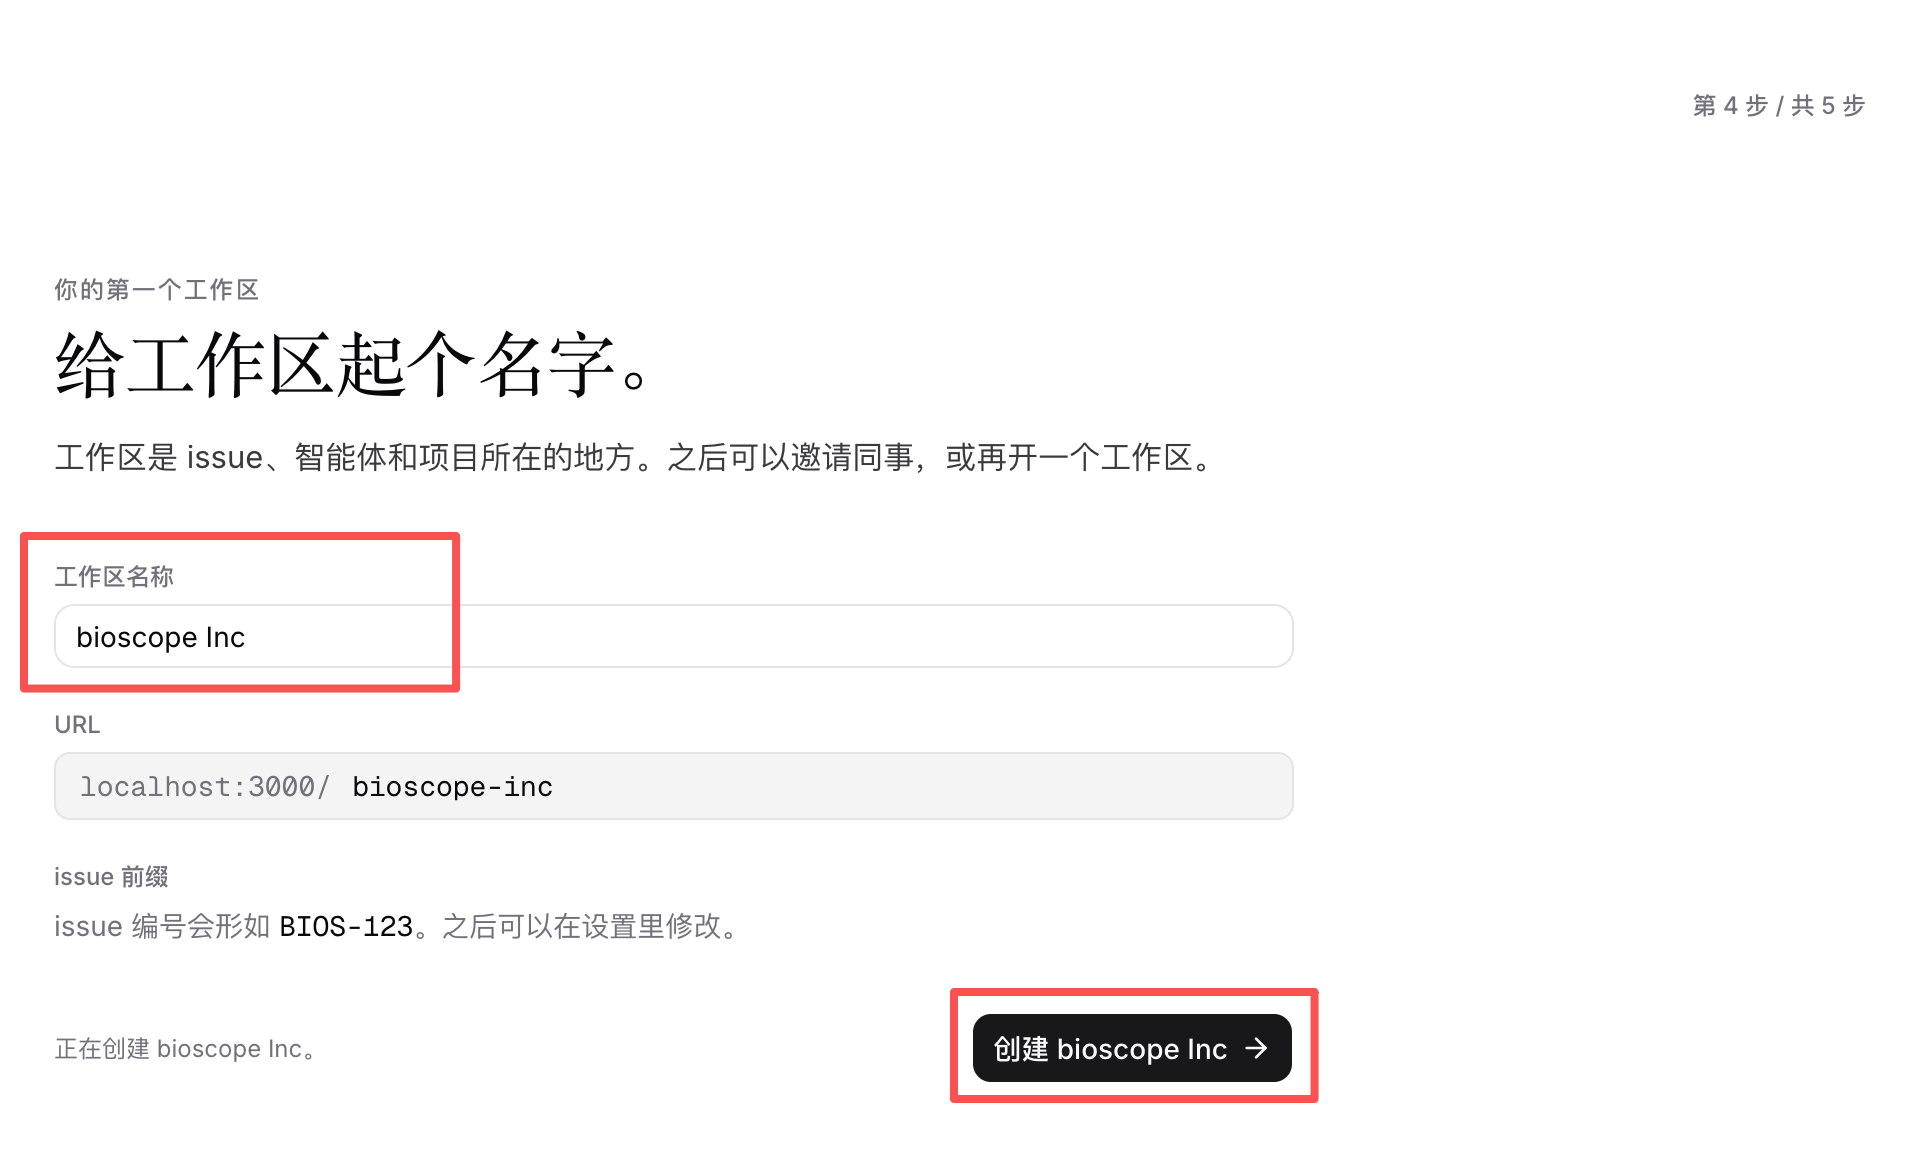
操作指引中,需要创建一个工作区,如下:
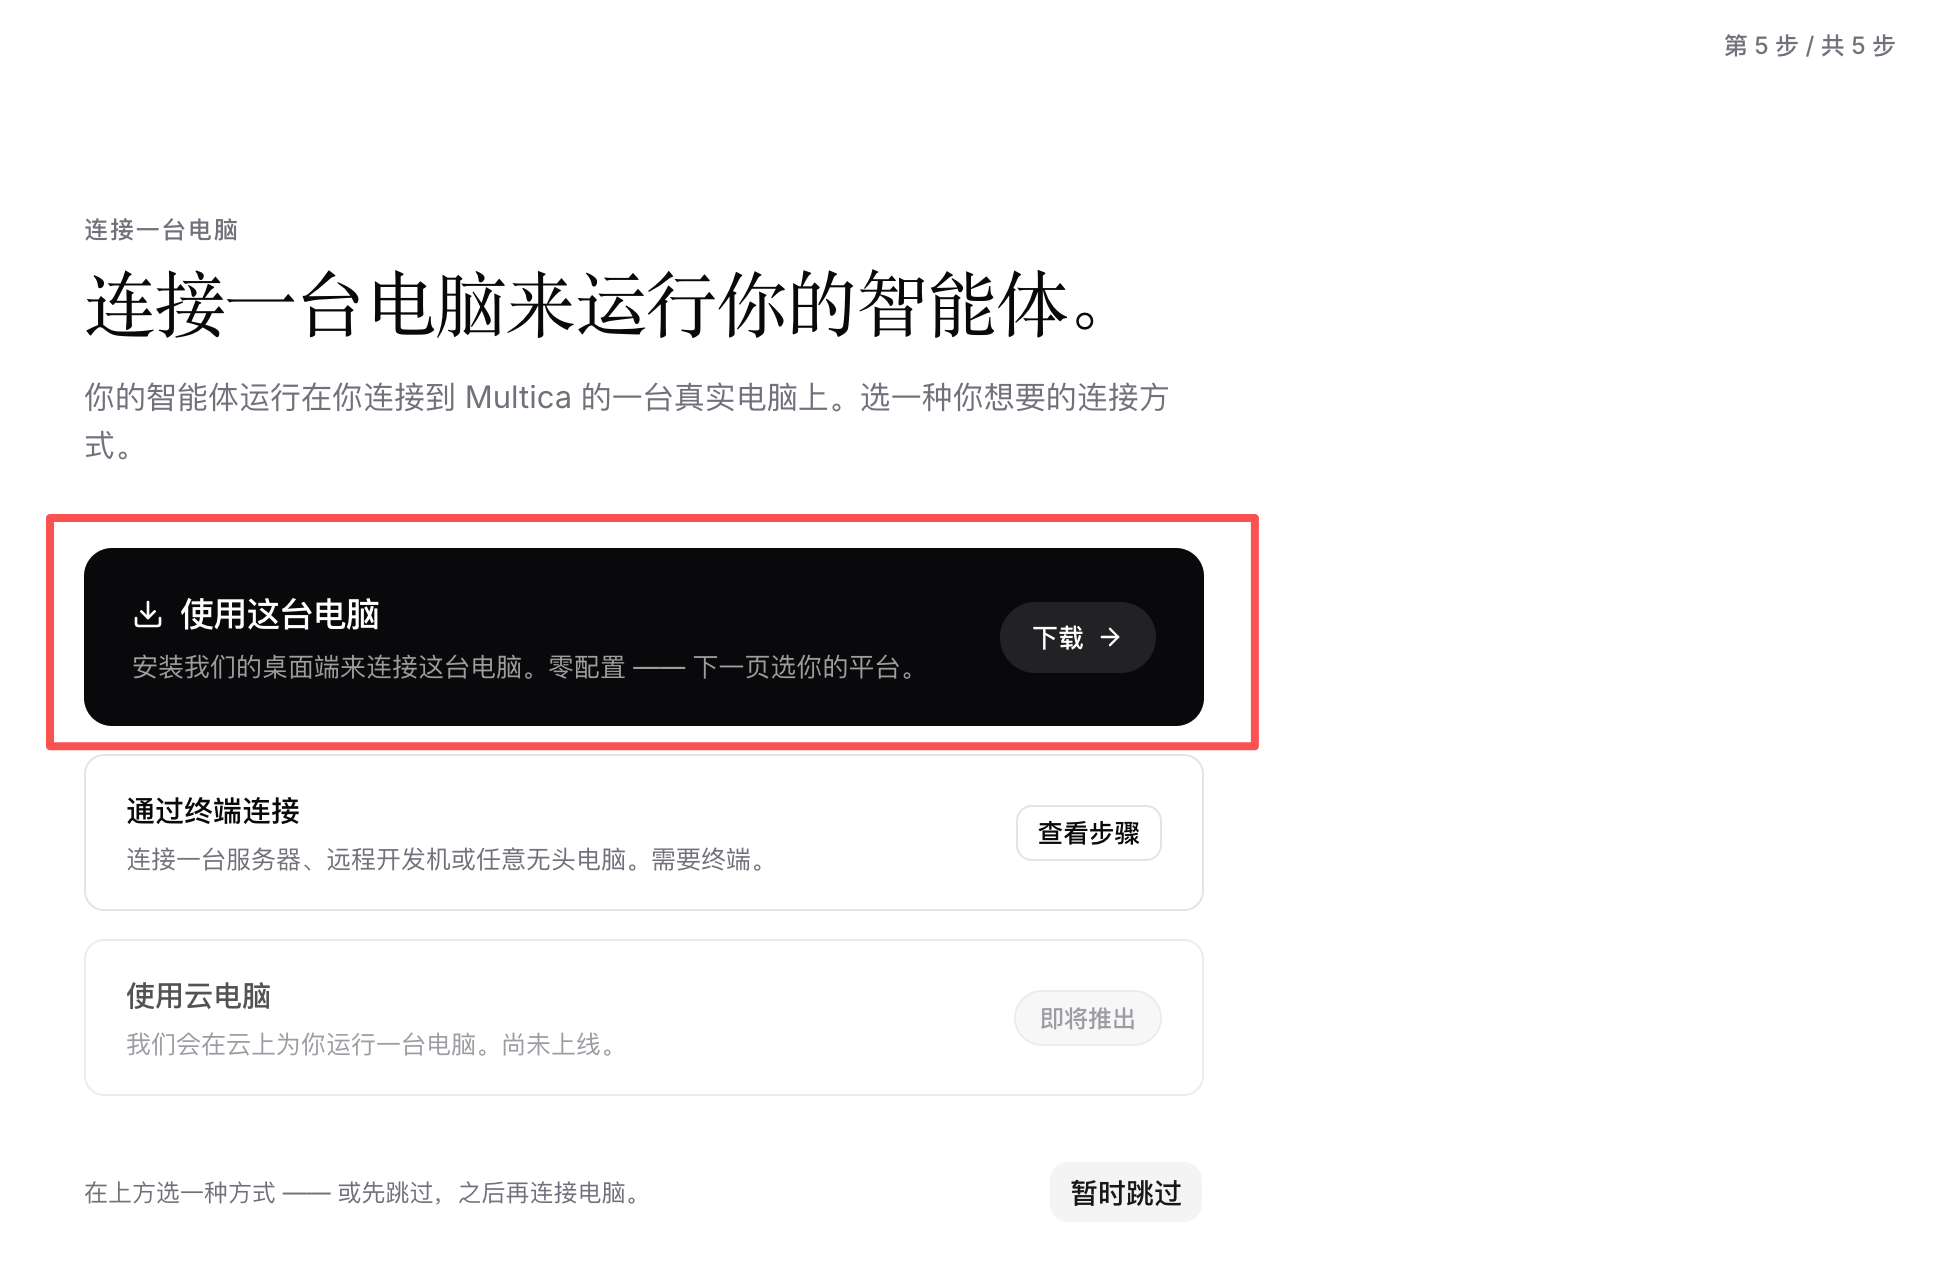
确定运行智能体的环境:
本地环境无法安装包,可以通过两种方式安装运行时:
- 从 Github 的发布页下载安装包
https://github.com/multica-ai/multica/releases
- 本地源码直接构建
我选择第 2 种方法。
构建 Multica CLI
在 Makefile 316 到 319 行,有构建 3 个命令的代码,如下:
1
2
3
4
| build: ## Build the server, CLI, and migrate binaries into server/bin
cd server && go build -ldflags "-X main.version=$(VERSION) -X main.commit=$(COMMIT)" -o bin/server ./cmd/server
cd server && go build -ldflags "-X main.version=$(VERSION) -X main.commit=$(COMMIT) -X main.date=$(DATE)" -o bin/multica ./cmd/multica
cd server && go build -o bin/migrate ./cmd/migrate
|
执行:
1
2
3
4
| $ make build
cd server && go build -ldflags "-X main.version=v0.3.38 -X main.commit=1ae0a1f5b" -o bin/server ./cmd/server
cd server && go build -ldflags "-X main.version=v0.3.38 -X main.commit=1ae0a1f5b -X main.date=2026-07-06T07:30:28Z" -o bin/multica ./cmd/multica
cd server && go build -o bin/migrate ./cmd/migrate
|
构建好后,会在 server/bin 目录下生成 3 个二进制文件,分别是:
- server - Multica 的后端服务
- multica - Multica CLI
- migrate - 数据库迁移脚本
文档要求 go 版本是 1.26,我本地是 1.24,同样构建成功。
启动守护进程:
 1
 2
 3
 4
 5
 6
 7
 8
 9
10
11
12
13
14
15
16
17
18
19
20
21
22
23
24
| $ ./server/bin/multica setup self-host
Configured for self-hosted server.
server_url: http://localhost:8080
app_url: http://localhost:3000
config: /Users/YOU/.multica/config.json
Opening browser to authenticate...
If the browser didn't open, visit:
http://localhost:3000/login?cli_callback=http%3A%2F%2Flocalhost%3A52551%2Fcallback&cli_state=52c671d3a10c4bd7687271fc1f45fb10
Waiting for authentication...
Authenticated as YOU (YOU@outlook.com)
Token saved to config.
Found 1 workspace(s):
* bioscope Inc (0b4ca43c-b2bb-426f-ba5e-7f43262c7b26)
→ Run 'multica daemon start' to start your local agent runtime.
Starting daemon...
Daemon started (pid 88098, version v0.3.38)
Logs: /Users/YOU/.multica/daemon.log
✓ Setup complete! Your machine is now connected to Multica.
|
授权完后,就可以在运行时页面看到。
小结
本地化部署 Multica 相对简单,只须具备:
- docker compose
- go 1.24 以上
- 能看懂 Makefile
接下来的几篇文章,我希望能够使用 Multica 完成一些开发任务,请期待。